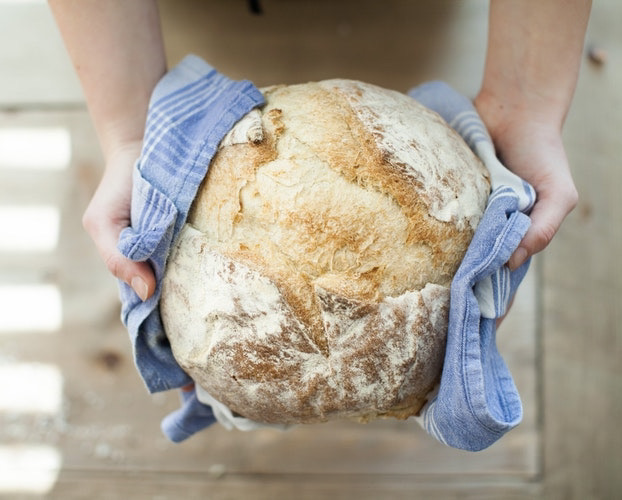
Sourdough Starter - Secret Recipe

How to Prepare a Sourdough Starter
A sourdough starter is a natural leavening agent made from flour and water. With time and proper care, wild yeast and bacteria will develop in your mixture, giving your bread a unique flavor and texture. Here’s a step-by-step guide to start your sourdough journey.
Ingredients:
- Flour: Use unbleached all-purpose flour, whole wheat, or a mixture of both.
- Water: Filtered or bottled water at room temperature works best (avoid chlorinated tap water).
Tools:
- A clean glass jar (small to medium-sized)
- D'Dough 4.65Q bowl for proofing (after the starter is established)
- Built-in D'Scale for accurate measurements(optional)
- A spatula or spoon
- A breathable cloth or loose-fitting lid to cover the jar
Day 1: Mix Your Starter
- Combine Flour and Water: In a clean jar, mix 2 teaspoons of flour with 2 teaspoons of water. Stir until the mixture reaches a thick, pancake-batter-like consistency.
- Cover and Rest: Cover the jar loosely with a breathable cloth or loose-fitting lid and let it sit at room temperature (ideally 20-24°C or 68-75°F) for 24 hours. This allows natural yeast and bacteria to begin the fermentation process.
Day 2: Feed Your Starter
- Check for Activity: After 24 hours, you might see some small bubbles forming, a sign that fermentation is starting. If not, don’t worry, this can take a bit longer.
- Remove and Refresh: Discard half of the mixture. Add 2 teaspoons of flour and 2 teaspoons of water to the remaining starter in the jar. Stir until well-combined, cover loosely, and let sit for another 24 hours.
Days 3-4: Feed and Build
- Repeat the Process: Each day, discard half of the starter and feed the remaining mixture with 2 teaspoons flour and 2 teaspoons water. Stir well, cover, and let sit for another 24 hours.
- Look for Bubbles: By day 4, your starter should start showing more bubbles and increased volume. It will develop a slightly sour smell, indicating healthy fermentation.
Day 5: Your Starter is Almost Ready
- Continue Feeding: Discard half of the starter and feed it as usual. By now, the starter should be rising and falling predictably after each feeding. If you see these signs, your starter is maturing well.
- Check for Readiness: After feeding, if your starter doubles in size within 4-6 hours, it’s ready to be used for baking. It should also have a pleasant sour smell.
Day 6 and Beyond: Maintain Your Starter
- Daily or Weekly Feedings: If you plan to bake regularly, you can leave the starter at room temperature and continue feeding it daily. For less frequent baking, store it in the fridge and feed it once a week.
- Feed Before Use: Before using the starter in a recipe, take it out of the fridge and give it a feeding. Let it sit at room temperature for several hours until it becomes active again.
Tips for Success:
- Use D'BakerAid: Once your starter is active and ready for proofing, transfer it to the D'Dough bowl and place it in D'BakerAid. Select the specially designed Sourdough Proofing Program, which provides the perfect environment at a 27°C limit and 4 hours duration. This ensures a stable, warm environment that promotes healthy yeast growth and enhances the starter's development.
- Built-in D'Scale: For precise measurements when feeding your starter, rely on the built-in D'Scale in D'BakerAid to get the perfect flour-to-water ratio every time.
- Temperature Control: If your environment is cooler, it might take longer for the starter to become active. D'BakerAid can help maintain a stable, warm environment to accelerate the process. Simply use its Smart Hub for this, choose Sourdough Program, adjust temperature by reducing it to 24°C aprox. and repeat every four hours.
- Flour Choice: Whole wheat flour tends to ferment faster due to more nutrients, while all-purpose flour can be slower. Mix and match to find your preferred balance.
- Check the Sourdough Bread Guide here.
Enjoy the journey of creating your sourdough starter with D'BakerAid’s help! This simple yet powerful ingredient will transform your home baking with deeper flavors and healthier bread.


