


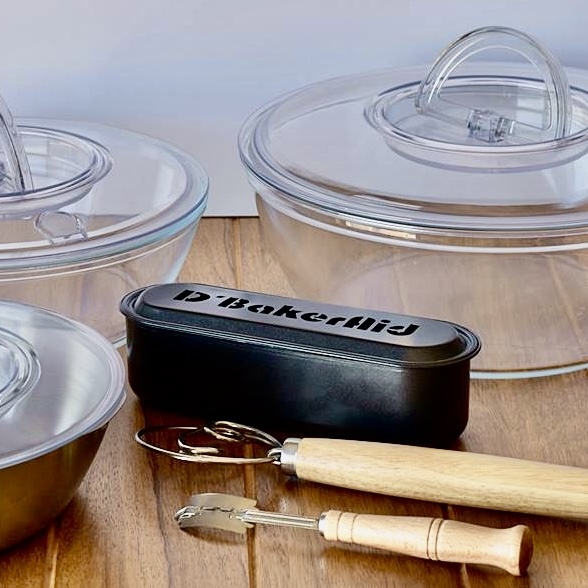
A special gift! Free Accessories Kit (valued at $29) includes 2 pack Of Aprons; Wooden danish dough whisk: Wooden Bread’s Lame +10 blades. BUY NOW!
A Special Gift! Free Accessories Kit (valued at $29) Includes 2 Aprons; Wooden Danish Dough Whisk: Wooden Bread’s Deco Knife +10 blades. BUY NOW!
Shipping free! Limited-time offer: Buy today and get D’BakerAid delivered right to your home for free.
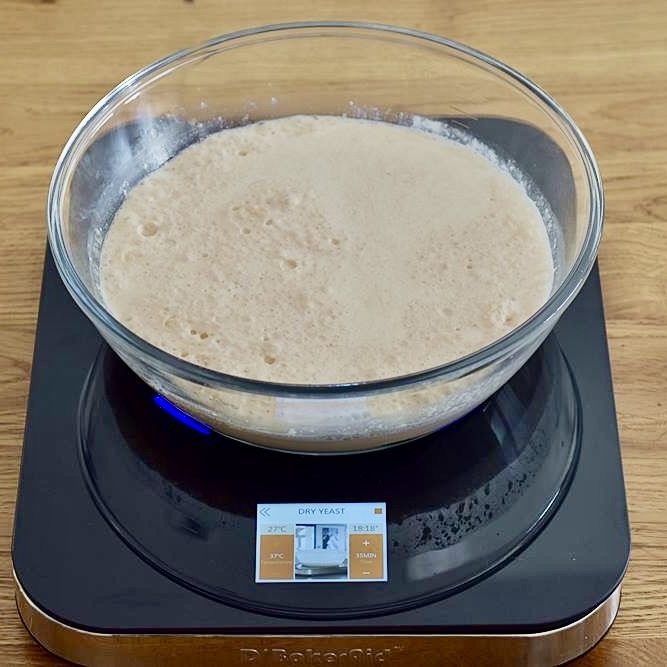
• Once the yeast program is completed, add the fermented yeast mixture to the D’Dough 4.5Liter glass bowl.
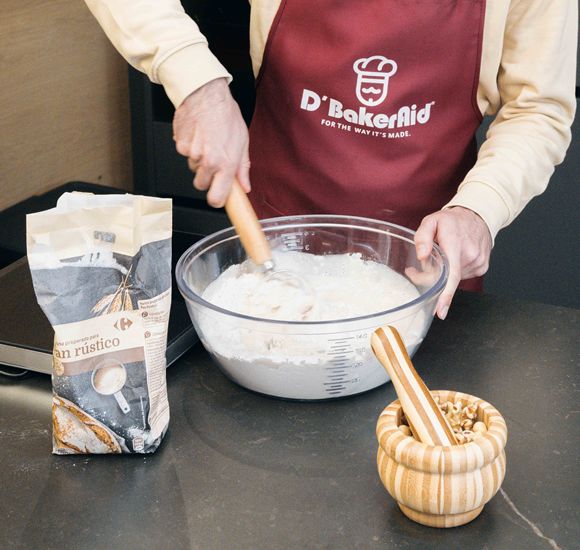
• Add half a teaspoon of salt, 1 tablespoon of oil, and the remaining flour (or as much as your recipe requires).
• Stir until you achieve the desired dough texture.
• Alternatively, you can pour the fermented yeast mixture directly into a stand mixer with the flour and mix until you get the desired dough texture.
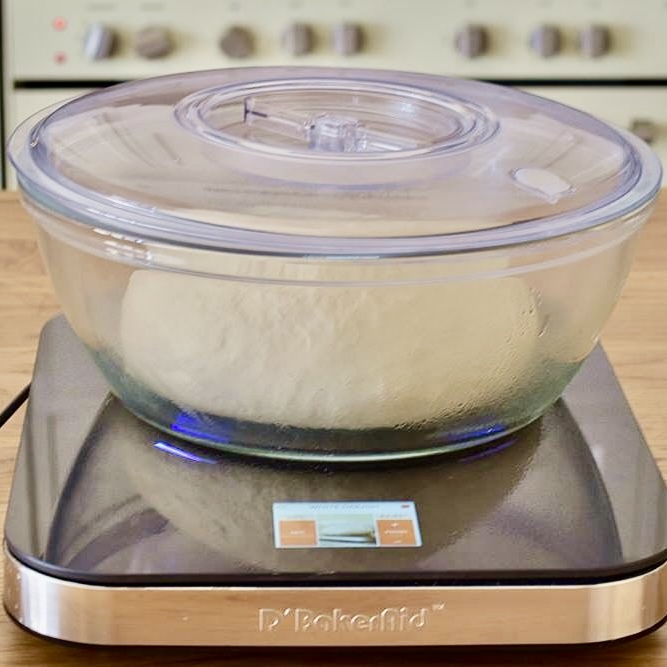
• Place the dough into the D’Dough 4.5Liter glass bowl, close the lid, and place it on the Hub.
• Once the dough is in the D’Dough 4.5Liter bowl on the Hub, go to the main menu and select the Dough Proofing program.
• Choose the type of dough from the program options (e.g., Mix Dough, White Dough).
• Press the Start button and wait for the program to finish and the dough to proof (it should double or triple in size).
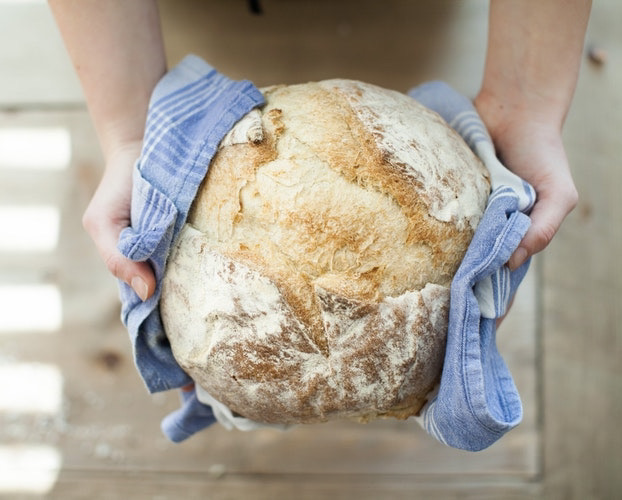
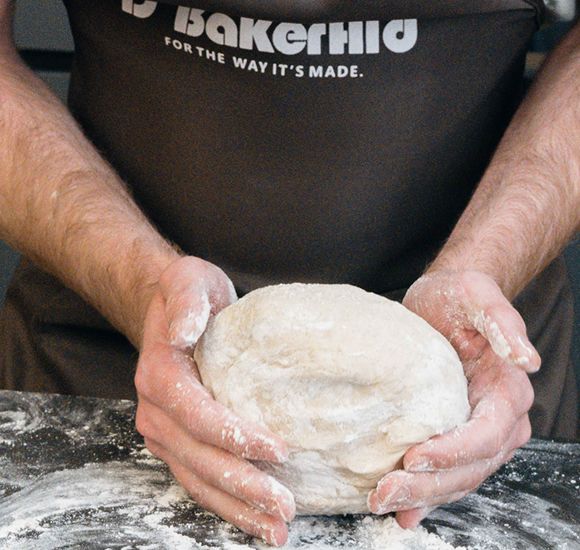
Once the proofing program is complete, you'll find your dough perfectly fermented and ready for shaping. At this stage, you can unleash your creativity by rolling, kneading, and shaping the dough as desired. Whether you're making bread loaves, baguettes, buns, or any other baked goods, D'BakerAid provides the ideal foundation for your artistic expression in baking.
• Fill the steamer container with water up to about 80% and close the lid.
• Turn on the oven to the desired temperature.
• Place the D’Steamer on the left or right side of the oven wall (not in the middle).
• Wait 10-15 minutes for the oven to heat up and the water in the D’Steamer to start evaporating.
• Once the dough is proofed, shape it and place it into a mold or on a tray.
• Fill D'Steamer with water, place it on either side of the
oven bottom (not in the middle) and preheat the oven.
• Ensure the oven has reached the selected temperature.
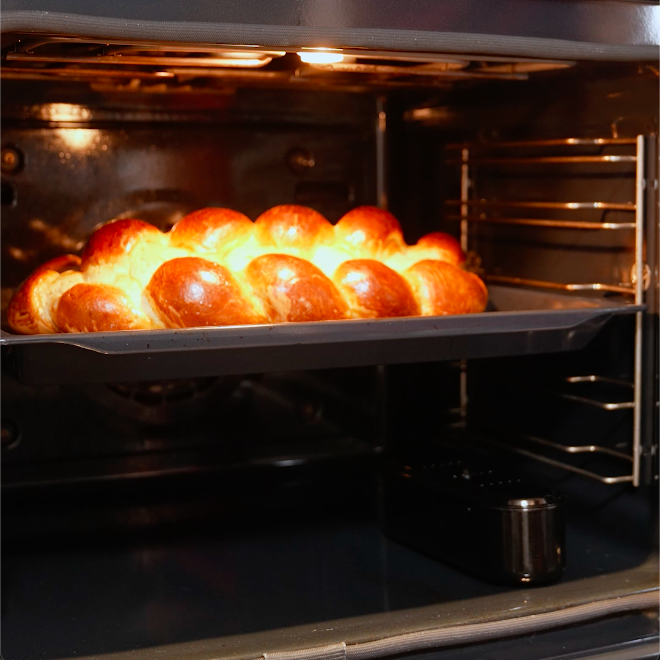
• Place the bread dough inside the oven and bake it accordingly to your recipe.
By following these detailed instructions, you can confidently achieve the desired baking results every time with D'BakerAid. Its user-friendly features and advanced technology make it the ultimate baking tool for both beginners and seasoned bakers. Enjoy the convenience, precision, and joy that D'BakerAid brings to your baking experience.
Happy Baking!